How RV Systems Work: Water & Power

The Trusted Series with Ben and Christina McMillan
Ben McMillan working with a generator outside of his RV

An RV is often referred to as a “home on wheels” because it carries much of the same comforts and amenities that a typical sticks and bricks house does. This means you can take a shower in the bathroom, cook a meal in a kitchen, heat your living space, store things in a refrigerator, turn lights on in the dark, the list goes on. But in order to do all of these things you’ll need to understand an RV’s two basic systems: water and power. It’s important to know how each system works, and what is required to keep them working, in order to successfully operate and maintain your RV. It might seem overwhelming at first but we’re here to help!

System #1: Water

Most RVs have three water tanks: the fresh water tank, the gray water tank and the black water tank. The freshwater tank holds all of your clean, drinking water and is the only water that you want coming into your RV. The gray water tank holds all of the dirty water that goes down your drains, so water from your sinks and shower. And the black water tank holds all of the waste from your toilet.

You should be able to check the level of each tank by accessing the house panel inside of your RV. This panel will tell you how full or empty each tank is, either by showing a percentage or lights next to corresponding levels (common levels on a panel include full, ⅔, ⅓, and empty).

Accessing Freshwater

Now, there are two ways to access your freshwater:

  1. Water Pump: Fill up your freshwater tank with clean water, turn on your water pump and water should begin flowing from your sinks and shower head. You’ll want to use your water pump if you are camping somewhere without any hook-ups. Keep in mind that your water pump does run off your RV’s battery, so you’ll want to be mindful of turning it off when you don’t need it.
  2. City Water Connection: Take a hose and connect one end to your RV and the other end to the water spigot at the hook-up. Once both ends of the hose are connected, turn on the water spigot and you’ll have immediate access to clean water. Any time you connect to city water, we recommend adding both a water pressure regulator and a water filter to help control the pressure and cleanliness of the water entering your RV.

Dumping Your Tanks

When your tanks are full or you’ve finished your RV trip and are ready to move on, you’ll need to make sure and dump your tanks. Specifically, you’ll want to dump your gray water and black water tanks. Whenever you dump your tanks, we recommend always wearing gloves to avoid getting any unsanitary spills on your hands.

Ben McMillan dumping his black water tank

While there may be some slight differences between RVs, here is the typical process for dumping your black and gray tanks:

  1. Take your sewer hose (*this should be a large hose that you specifically and exclusively use to dump your tanks) and connect one end to your RV and the other end to the dump station drain.
  2. Once your sewer hose is securely connected, pull the valve for your black tank. You’ll always want to dump your black tank before your gray tank, as this helps remove any build-up or residue that may get stuck in your hose during the black tank release. The gray water can help flush everything out.
  3. Close the valve for your black tank and then open the valve for your gray tank. Please note that you should always dump your gray water at a proper dump station.
  4. Once both tanks are dumped, disconnect the sewer hose from your RV but leave the other end connected to the dump station drain. Take your rinsing hose (*this should be a standard hose that you specifically and exclusively use to rinse your sewer hose) and run water through the inside of your sewer hose to clean out any ​​residue or debris left inside.
  5. Once your sewer hose is rinsed and put away, take a few moments to clean and sanitize the surrounding area.

System #2: Power

There are two basic power systems inside most RVs, the 12-volt and the 120-volt. Here are the major differences between the two:

12 Volt

  • This is considered the DC system
  • This runs off your RV’s battery, often called your house battery
  • You’ll use 12v when you’re boondocking or dry camping and don’t have access to hook-ups or shore power
  • 12v can power smaller things like your RV’s lights and fans
  • You won’t be able to run all of your appliances off the 12v system alone

120 Volt

  • This is considered the AC system
  • This runs just like a standard home with outlets
  • You’ll use 120v when you’re connected directly to hook-ups or shore power (your house battery can also power the 120v system if you have an inverter)
  • 120v can power anything you plug into an outlet and larger appliances like air conditioners
  • You can usually run most of your appliances off the 120v system

30 Amp Versus 50 Amp

When you’re plugging into shore power, there are usually two types of amperage available: 30 amp and 50 amp. The amp size of an RV will vary, so it’s best to stick with whatever is issued for your specific RV. However, there are adapters you can purchase that will allow you to plug your RV into a different amperage. For example, our RV is 30 amps but we have a dogbone power adapter that allows us to plug into a 50 amp if that’s the only hook-up offered at a campground.

The overall size of your RV and its amperage will also dictate how many appliances you can run at once. For example, you may not be able to turn on your air conditioner and microwave at the same time. Always try to monitor how many appliances or devices you are using at one time, and be sure to use a surge protector.
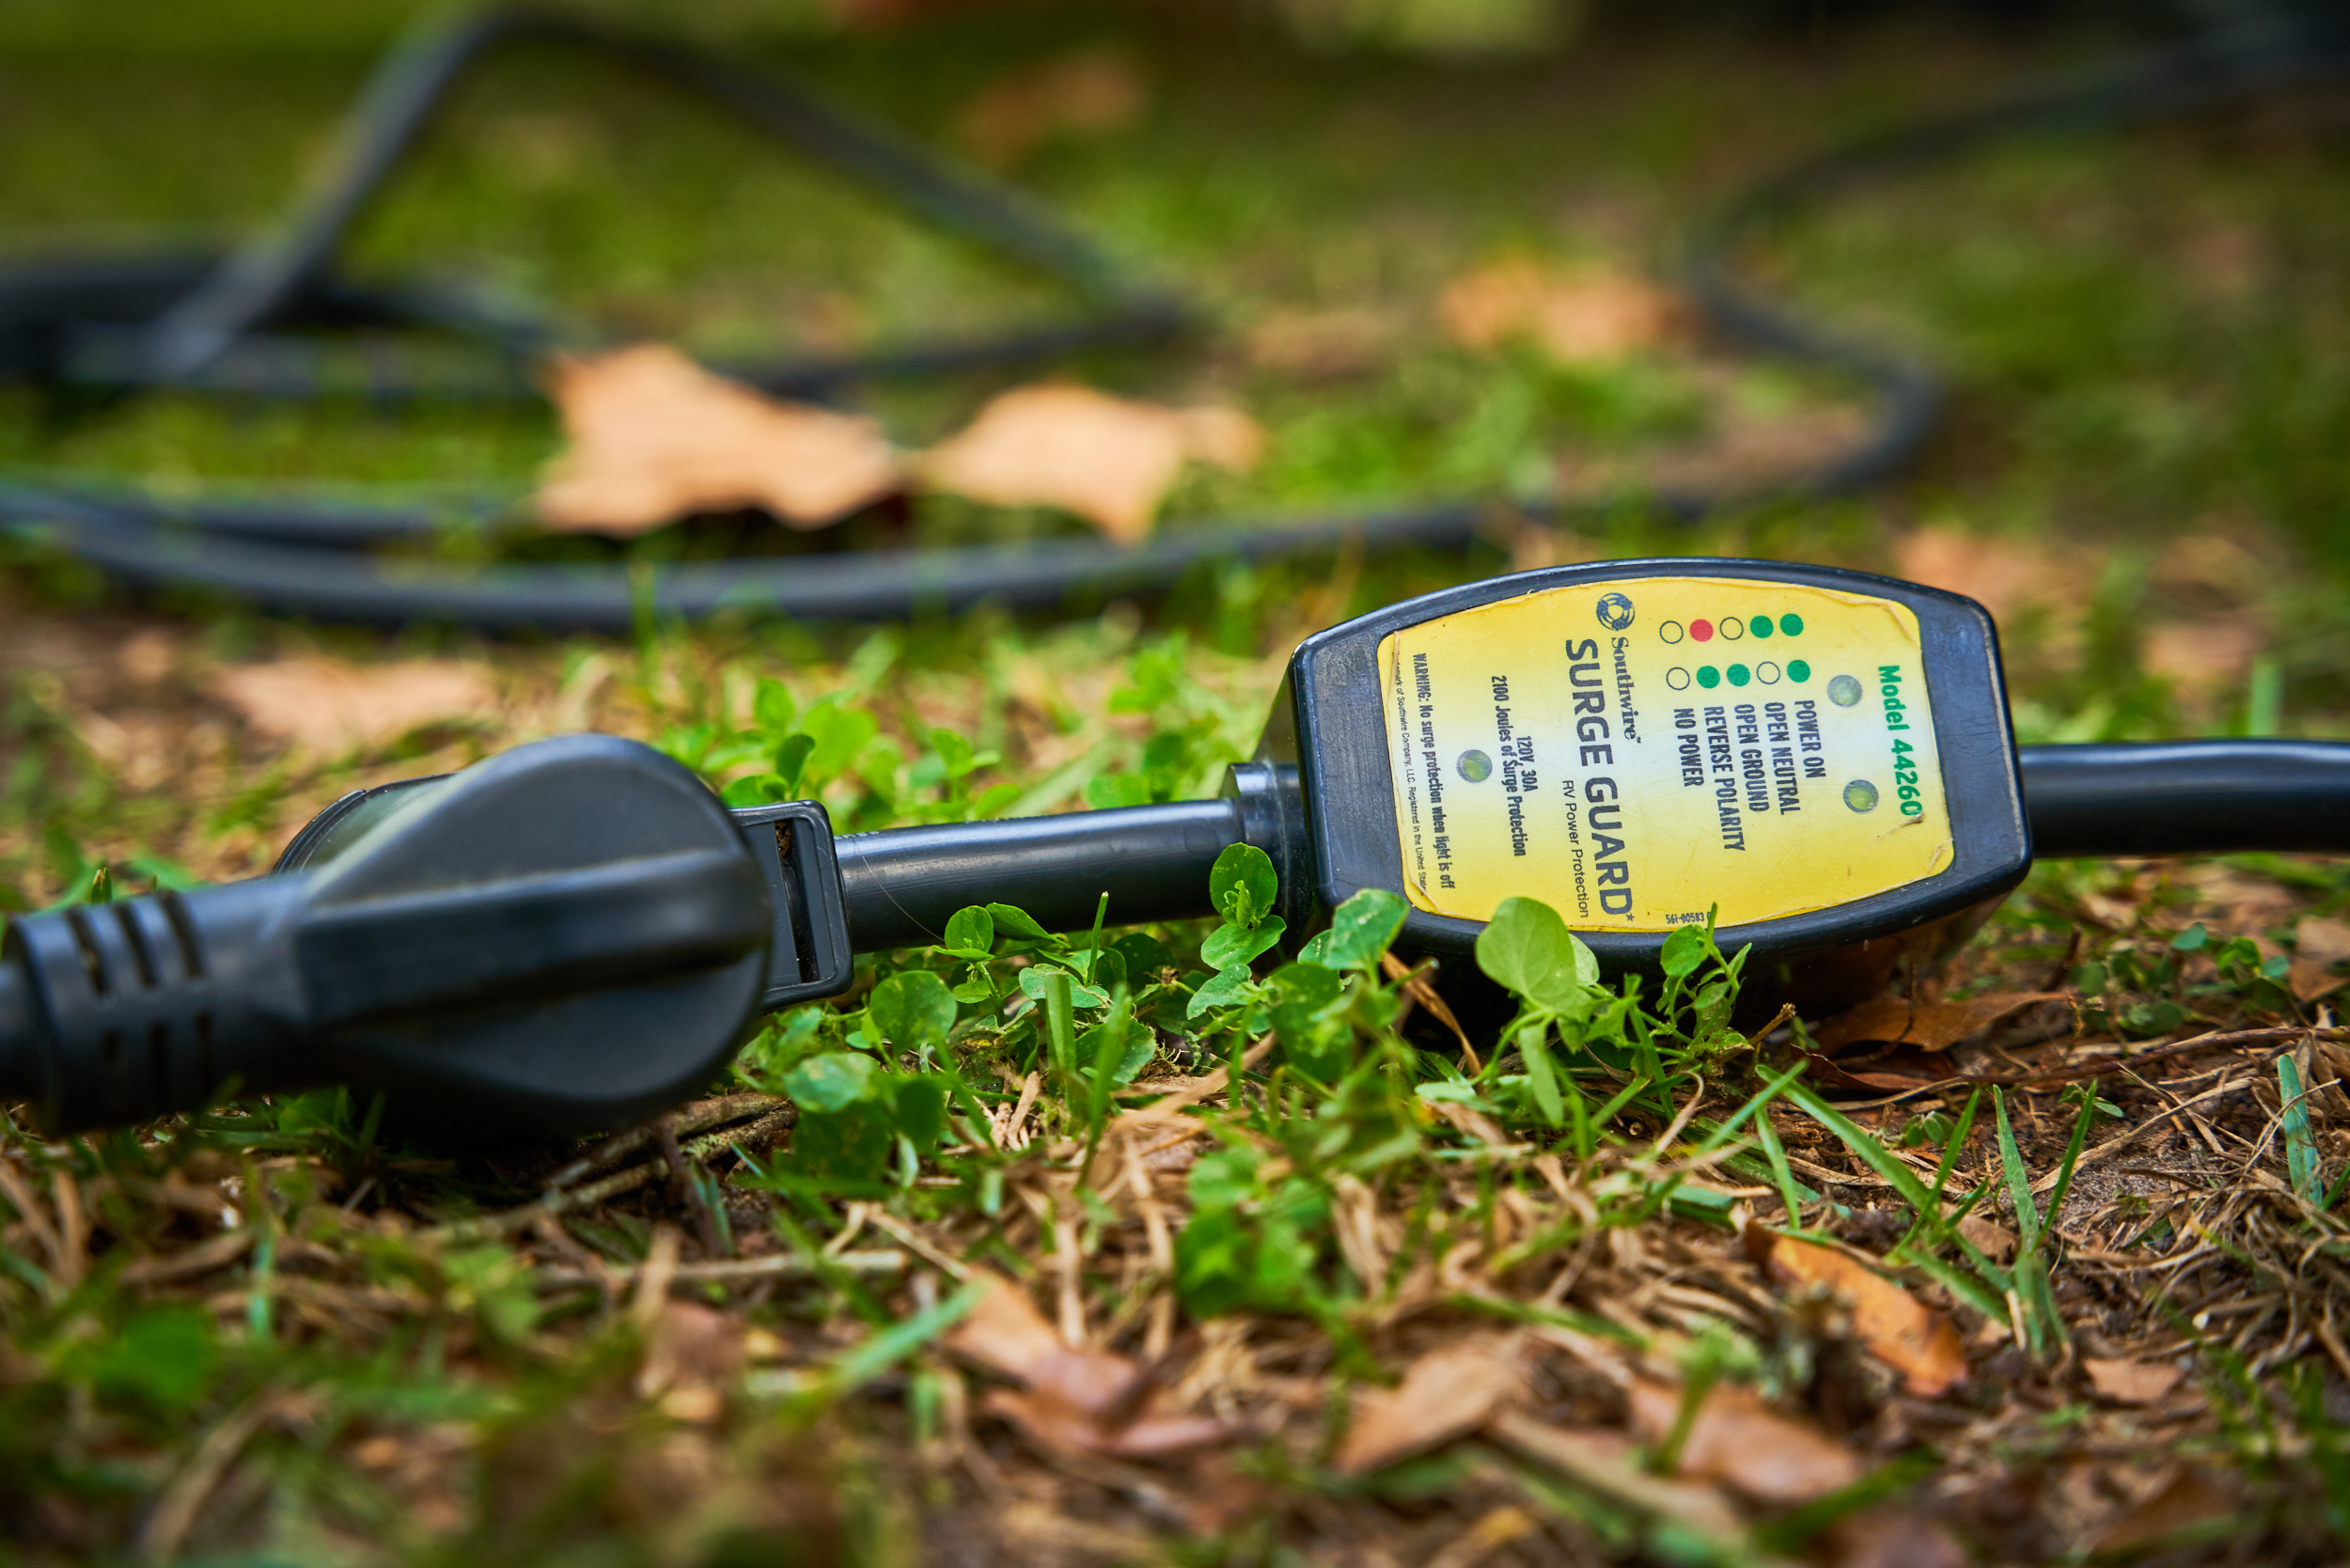
the mcMillan's surge protector

Generators

If you have a generator, this acts just like shore power for your RV. You can plug your RV directly into the generator, turn it on and you instantly have power. Generators are measured in watts and, depending on the number of watts, you can power different things in your RV. We have a 3,500-watt generator and this allows us to run most appliances inside of your RV. Generators require gas to run, so be sure and regularly check your levels regularly.
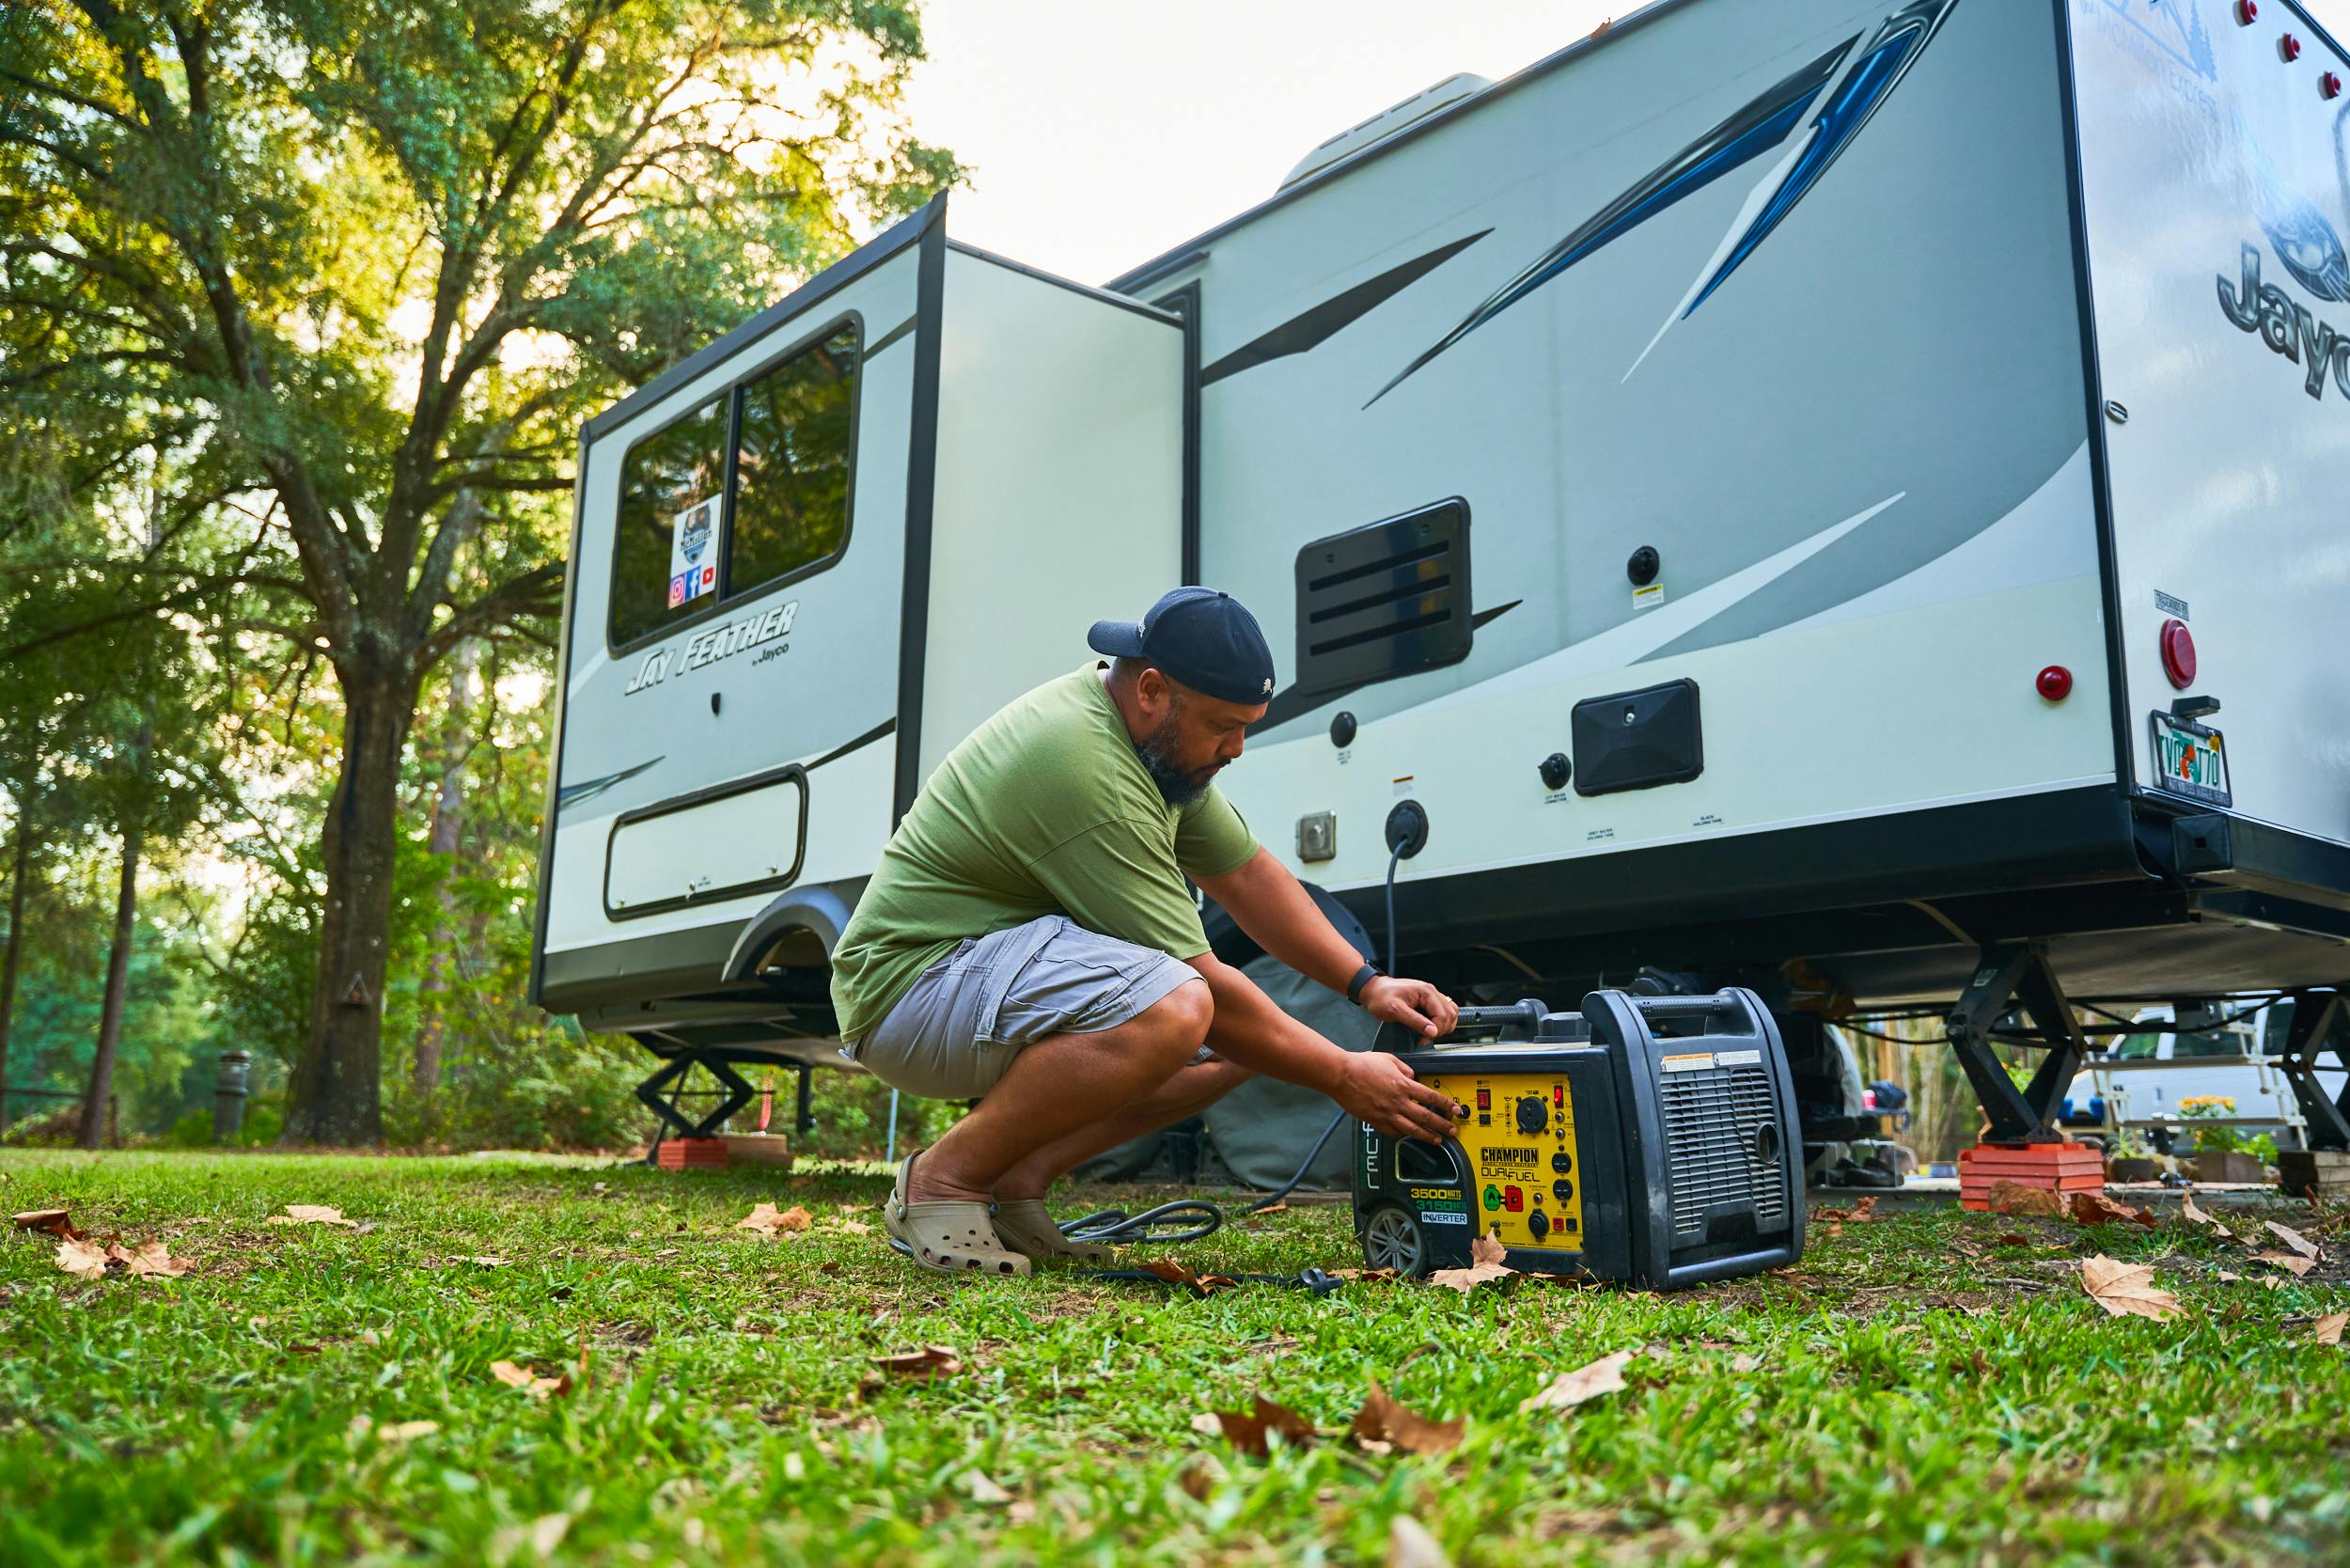
Ben McMillan working with a generator outside of his RV

Solar Power

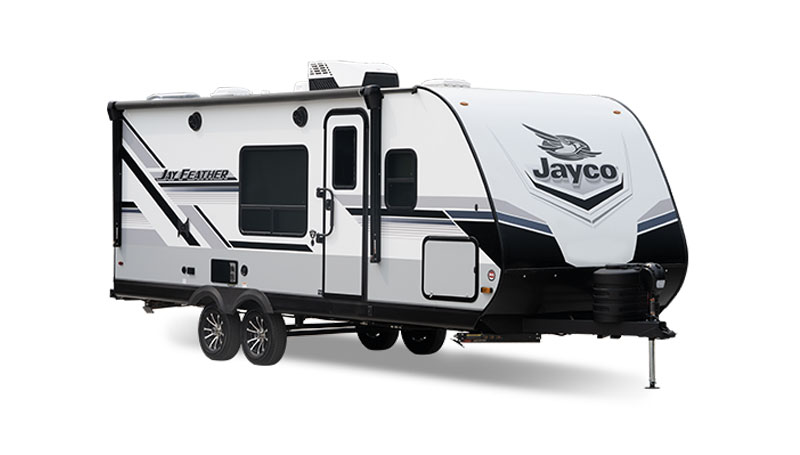
Many RVers are investing in solar panels for their RVs, and some newer RV models are coming solar-equipped (meaning it’s easy to install solar panels yourself) or already have solar pre-installed. We installed solar panels on our Jayco travel trailer and it has really helped supplement our power, especially when we’re boondocking. Solar panels are responsible for recharging your house battery, which then powers your 12v system or your 120v system via an inverter. How much solar power you’ll need depends on a few different things, including how big your RV is and what appliances you plan to run. Solar panels need a significant amount of sunshine to charge and power your RV, so make sure you place them in a bright, well-lit area. 

Ben and Christina McMillan's solar power on top of their RV

Propane

Most RVs have at least one propane tank, which is responsible for keeping your furnace warm and your refrigerator cold. Propane also provides hot water in your shower and hot burners for cooking. Propane tanks on a towable RV are typically 20 or 30 gallons, and you’ll either need to refill or exchange the tank when it gets low.

If you want to turn your RV’s furnace on, first make sure that your propane tank is full and properly connected to your RV. Then, slowly open the propane valve on your tank. Once the valve is open, you can set the thermostat in your RV to your desired temperature. It’s important to note that your RV’s furnace requires both propane and a sufficiently charged battery or a hook-up to operate.

To get your RV’s refrigerator cold, you’ll want to make sure that your refrigerator is set on the propane or automatic setting and then follow the same process with the propane tank valve. Many RVers like to turn on their refrigerators the day before a trip to give it ample time to cool down. 

Propane tanks require propane to run, so be sure and check your levels before every trip (especially if you’re traveling in the colder months and running your furnace more). You should also have an RV mechanic or technician regularly check your propane lines for any possible leaks or damages.

Travel Trailers

Travel trailers are the most popular type of non-motorized RV. No doubt you’ve seen one pulled down the highway hitched to a car or pickup. Travel trailers come in all sizes including tiny jellybean-shaped models with a chuckwagon kitchen in the rear to the massive house-on-wheels with picture windows and a sliding glass patio door.

Find Your Perfect RV

Whether you're new to the world of RVing or you're ready to narrow your search, we're here to help you sort through it all and find the RV that's right for you. Explore RVs based off of your lifestyle and the features important to you.

Find Your RV
An travel trailer RV parked in a green field.